Upgrading your phone or moving from iPhone to Android? If you’re trying to switch eSIM between devices in Canada, this guide will walk you through the steps clearly and simply. Switching your eSIM between phones can feel confusing the first time, especially if you’re trying to transfer your eSIM to a new phone or move your mobile plan from one device to another, but the process becomes easy once you know what to expect. In this guide, you’ll learn what to do before you begin and how to complete the transfer smoothly on iPhone, Android phone, or between platforms.
If you need to reinstall an eSIM before switching, check out our guide on How to Reinstall or Reactivate an eSIM in Canada. You can also explore eSIM Canada: Best Providers, Setup and Guide for Travelers and Locals to compare carrier plans, coverage, and compatible devices.

Why You Might Need to Switch Your eSIM
Switching your eSIM can happen for many reasons:
- You upgraded to a new iPhone or Android model.
- You’re moving from iPhone to Android or the other way around.
- Your device was reset, damaged, or replaced.
- You’re switching carriers but keeping your number.
- You want your same plan active on your new daily phone.
Whatever the reason, following the right steps keeps your number, plan, and data working without interruption , especially when you need to switch eSIM between devices in Canada.
Before You Start
Before switching your eSIM between devices, take a moment to prepare everything you need. This helps avoid failed activations or losing access to your number.
- Back up your device. Use iCloud or Google Backup to protect your contacts, photos, and settings.
- Make sure both phones support eSIM. Most modern devices do, but some older or budget models still don’t.
- Connect both phones to Wi-Fi. eSIM transfers and QR code downloads always work best on a stable network.
- Update both devices. Outdated software can hide or block eSIM options.
- Keep your carrier login ready. Many carriers require verification before issuing a new QR code.
- Do not delete the eSIM from your old phone until the new one is active. Once deleted, it cannot be restored.

How to Switch eSIM Between iPhones in Canada
Apple makes eSIM transfers smooth and dependable. Follow these steps:
- Open Settings > Cellular > SIMs.
- Select your current eSIM plan.
- Tap Transfer to Another iPhone.
- On your new iPhone, confirm the transfer.
- Wait a few minutes for activation.
- Restart your new iPhone and test your data or calls.
Tip: If you see a setup prompt like “Set Up eSIM” during initial device setup, it’s safe to follow. Apple uses a secure transfer method that works across all Canadian carriers.
Note: Canadian iPhones still include a physical SIM tray and support eSIM up to iPhone 16, while U.S. iPhone 14 and newer models are eSIM-only.

How to Switch eSIM Between Android Phones in Canada
Android phones support eSIM transfers, but each brand handles it a little differently. Follow the steps based on the device you have.
Samsung Galaxy (S20 and newer)
- Go to Settings > Connections > SIM Manager.
- Tap Add eSIM.
- Select Transfer from another device or choose Scan QR code.
- Follow the on-screen instructions to complete activation.
Google Pixel (Pixel 4 and newer)
- Open Settings > Network and Internet > SIMs.
- Tap Transfer eSIM or Add eSIM.
- Scan your carrier’s new QR code or follow Google’s automatic transfer prompt.
Motorola, OnePlus, Xiaomi and others
Some Android phones do not support direct eSIM transfer. If you do not see a transfer option, request a replacement QR code from your carrier’s app or online account.
Switching Between iPhone and Android
Moving from iPhone to Android or the other way around requires a few extra steps. Take your time with this part to avoid losing service.
- Wait to delete the eSIM on your old phone until the new one is fully activated. This prevents accidental loss of your plan.
- Request a new QR code from your carrier using the app or online account.
- Scan the QR code on your new device and complete the eSIM download.
- Restart your phone and test your calls, data, and text messaging.
If you use travel eSIMs such as Airalo, Holafly, Nomad, aloSIM, Ubigi, Saily, or Flexiroam, simply log in to your app, go to your eSIM profile, and re-download your plan. These services make moving an eSIM between devices simple for frequent travelers.

Compatible iPhone Models That Support eSIM in Canada
Most modern iPhones support eSIM activation and transfers, including:
- iPhone XR, XS, XS Max
- iPhone 11, 11 Pro, 11 Pro Max
- iPhone 12 series
- iPhone 13 series
- iPhone 14 series
- iPhone 15 series
- iPhone 16 series (Canadian models include a physical SIM slot)
- iPhone 17 series (eSIM only for supported Canadian models)
Older iPhones may not support direct eSIM transfer and may require a replacement QR code from your carrier.
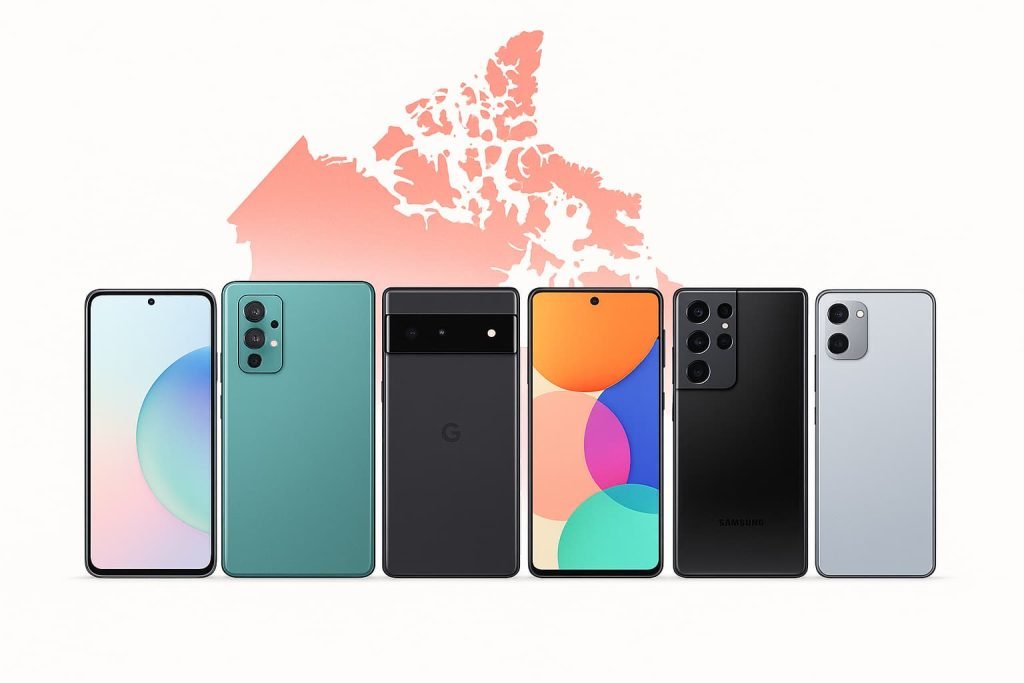
Compatible Android Phones That Support eSIM in Canada
These Android models offer full eSIM support for transfers and new activations:
Samsung Devices
- Galaxy S20, S21, S22, S23, S24 series
- Galaxy Z Flip (all eSIM-capable generations)
- Galaxy Z Fold (all eSIM-capable generations)
Google Pixel Devices
- Pixel 4, 4a
- Pixel 5, 5a
- Pixel 6, 6 Pro
- Pixel 7, 7 Pro
- Pixel 8, 8 Pro
- Pixel 9, 9 Pro
Motorola
- Motorola Razr (2020 and newer)
OnePlus
- OnePlus 11, OnePlus 12
Huawei
- P40 and P50 series (carrier support varies in Canada)

Carrier eSIM Transfer Options in Canada
Here’s how major Canadian carriers handle eSIM transfers and replacement QR codes. These options make it easier to switch eSIM between devices in Canada without waiting on support calls.
| Carrier | How to Transfer or Replace eSIM | Where to Manage It |
|---|---|---|
| Bell | Replace or transfer your eSIM instantly | MyBell app or mybell.ca |
| Rogers | Request a replacement eSIM instantly | MyRogers app or rogers.com |
| TELUS | Use the “Replace SIM” option in your account | MyTELUS app or telus.com |
| Fido | Delete and re-add eSIM using your account | Fido app |
| Koodo | Replace eSIM through Self Serve | koodo.com |
| Virgin Plus | Request a new QR code | Virgin Plus app |
| Freedom Mobile | Chat support reissues a replacement QR code | Freedom Mobile app |
| Public Mobile | Reinstall or replace eSIM directly in the app | Public Mobile app |
| Lucky Mobile | Contact support to issue a new QR code | luckymobile.ca |
| PC Mobile | Generate a replacement QR code online | pcmobile.ca |
| SaskTel, Videotron, Eastlink | Request eSIM replacement through support | Carrier portal |
Pro Tips for Switching eSIM Between Devices in Canada
A smooth eSIM transfer starts with a bit of preparation. These practical tips help you avoid activation errors and keep your connection working on the first try.
- Back up both devices before switching. This protects your settings, contacts, photos, and saved eSIM labels.
- Update your software first. iOS and Android updates often fix eSIM menu issues or add better transfer options.
- Stay connected to Wi-Fi during the transfer. Weak mobile data can interrupt the eSIM download.
- Keep your old phone turned on until the new one is working. Some carriers send verification prompts to your old device.
- Use clear labels for your eSIMs. If you have multiple lines or travel eSIMs, proper naming helps avoid deleting the wrong one.
- Restart your new device after activation. This refreshes your network settings and helps your plan connect immediately.
- Request a fresh QR code if the transfer fails. Carriers like Bell, Rogers, TELUS, and Koodo can generate a new one in minutes.
- Do not delete the old eSIM until the new one is confirmed. Once deleted, an eSIM cannot be reused.
- Use your carrier’s self-serve tools. Most issues can be fixed faster through your account than through support queues.
Troubleshooting eSIM Transfer Issues in Canada
If your eSIM does not transfer successfully, these are the most common issues and how to fix them.
General Troubleshooting
- The transfer option is missing on your old phone
Restart the device and update software. On iPhone, make sure you are signed into the same Apple ID on both phones. On Android, ensure Wi-Fi is enabled and the phone supports eSIM transfer. - The QR code shows an error when scanning
Your QR code may be expired or already used. Request a new QR code from your carrier app or online account, then try scanning again. - The new phone says “Activation Failed”
Connect to Wi-Fi, restart your phone, and retry activation. If the issue continues, delete the partially installed eSIM and install a fresh QR code. - Your plan appears on the new phone but calls or data do not work
Reset network settings and restart your device. Make sure the correct line is set as the default for voice, messages, and mobile data. - You deleted the eSIM on the old device too early
Once deleted, an eSIM cannot be recovered. Log into your carrier account and request a replacement QR code. - The transfer stops halfway
Keep both phones unlocked, connected to Wi-Fi, and close together. Some carriers require identity verification on your old device before the transfer completes. - Your old phone is lost or broken
Log in to your carrier online account and request a replacement eSIM. You do not need access to the old device to activate the new one. - Your phone shows “No SIM” after switching
Restart your device or reset network settings. If the issue continues, reinstall the eSIM using a new QR code.
Android-Specific Troubleshooting
- “Transfer eSIM” option not showing on Samsung or Pixel
Make sure your software is updated. Older Android versions hide transfer options until you update. - Pixel shows “Can’t Activate eSIM”
Turn off VPN, toggle Airplane Mode on then off, restart the phone, and retry. - Samsung stuck on “Checking Network”
Switch to a different Wi-Fi network or reboot your router. Samsung activation relies heavily on Wi-Fi stability. - Using a carrier-locked Android device
If your phone is locked to another provider, eSIM transfer or QR code installation may fail until the device is unlocked.
When to Contact Your Carrier
- You requested a QR code but have not received it after 10–15 minutes.
- You see repeated activation errors even after rebooting.
- Your device shows “This plan cannot be added” during QR code scanning.
- You believe your eSIM profile was corrupted after a failed transfer.
- Your plan appears active but you cannot make calls or use mobile data.
- You switched phones and your number is not recognized by the network.
If any of these issues occur, contact your carrier through their app or website for faster resolution.
iPhone-Specific Troubleshooting
- You don’t see the “Transfer to Another iPhone” option
Make sure both iPhones are updated and signed into the same Apple ID. Restart both devices, connect to Wi-Fi, and try again. - iMessage or FaceTime isn’t working after the transfer
Turn iMessage and FaceTime off, restart your phone, then turn them back on. Sometimes Apple needs a fresh network registration after switching eSIMs. - Only data works, but calls or texts don’t
Go to Settings → Cellular and confirm your new line is set as the default for Voice, SMS, and Data. If needed, toggle each option off and back on.
Advanced Fixes for Persistent eSIM Issues
- Reset Network Settings
This clears outdated carrier settings that may block activation. Go to Settings > General > Transfer or Reset iPhone > Reset > Reset Network Settings. - Delete any partially installed eSIM profiles
If a transfer failed midway, remove the broken profile before adding a fresh QR code. - Toggle Airplane Mode
Turn Airplane Mode on for 10 seconds, then turn it off. This forces your phone to refresh the network handshake. - Check for carrier updates
Go to Settings > General > About and wait a few seconds. If a carrier update appears, install it. This often fixes activation errors instantly.
Frequently Asked Questions About Switching eSIMs Between Devices in Canada
Can I switch my eSIM between devices in Canada without a QR code?
Yes. iPhones and newer Google Pixel models support direct eSIM transfer without a QR code. If your device does not show a transfer option, your carrier will issue a new QR code.
Will switching my eSIM erase my phone number or plan?
No. Your phone number and plan stay linked to your carrier account, not your device. Once the eSIM is active on your new phone, everything transfers over.
How long does it take to switch an eSIM between devices in Canada?
Most transfers take only a few minutes. Some prepaid carriers may take up to 15 minutes for the network to sync.
Can I use the same eSIM QR code on more than one phone?
No. QR codes are single use. If you need to switch again, request a new QR code in your carrier app or online account.
What should I do if the eSIM does not activate on my new device?
Restart your phone, make sure Wi-Fi is on, and try again. If activation still fails, request a new QR code from your carrier.
Do I need Wi-Fi to switch eSIM between devices in Canada?
Yes. A stable Wi-Fi connection ensures your eSIM downloads correctly and activates without errors.
Can I switch eSIM from iPhone to Android?
Yes. You will need a new QR code from your carrier since cross-platform transfers do not support direct transfer.
Can I switch eSIM from Android to iPhone?
Yes. Just request a new QR code and scan it using your iPhone during setup.
What if my old phone is lost or broken?
Log in to your carrier account and request a replacement eSIM. You do not need access to your old phone.
Does switching eSIM remove my plan from the old phone?
Yes. Once the eSIM is active on your new device, the old one will deactivate.
Can I move my travel eSIMs to another phone?
Yes. Providers like Airalo and Holafly let you re-download your travel eSIM from the app to any compatible phone.
Why does my phone say “No SIM” after switching eSIM?
Restart your device or reset your network settings. If the issue continues, reinstall the eSIM using a new QR code.
Can I switch multiple eSIMs between devices?
Yes. You can transfer or reinstall more than one eSIM as long as your device supports multiple profiles.
More Related Guides from Our eSIM Canada Series
- eSIM Canada: Best Providers, Setup & Guide for Travelers & Locals
- How to Reinstall or Reactivate eSIM in Canada
- How to Activate Airalo eSIM in Canada
- How to Activate Holafly eSIM in Canada
- How to Transfer Your eSIM Between Phones in Canada
- What to Do If eSIM Activation Fails in Canada
- How to Activate eSIM on iPhone in Canada
- Activate eSIM on Android in Canada: Step-by-Step Setup Guide
Final Thoughts
Switching your phone shouldn’t be stressful, and this guide is here to make it easy whenever you need to switch eSIM between devices in Canada. Whether you’re upgrading to the latest iPhone 17, moving to a Pixel 9, or switching carriers, the key is patience and preparation. Make sure your device is updated, double-check your carrier’s requirements, and request a fresh QR code whenever needed.
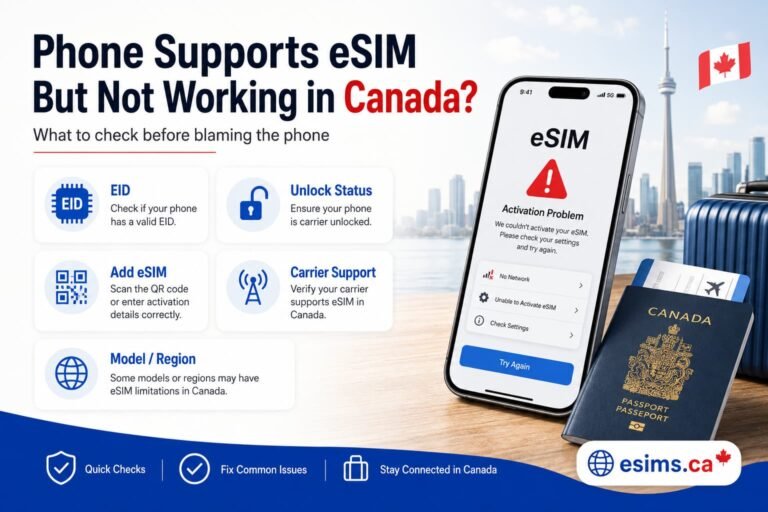
If your eSIM does not activate or you run into network issues, take a look at How to Fix eSIM Not Working in Canada for quick troubleshooting. You can also learn how to safely remove an old profile in How to Remove or Delete an eSIM in Canada.
For plan comparisons, coverage tips, and the best options available, visit Compare Canadian eSIM Providers: The Ultimate Guide to Finding the Right Plan. Staying organized makes switching devices easy and helps keep your connection running smoothly wherever you go.